How to Paint Light Bulbs Step by Step?
If you are interested in lighting your room but in a much more original, personalized and creative way, you have to know how to paint light bulbs step by step. We are going to teach you about this in the following lines, so that you can make a craft that will offer you many possibilities to develop your creativity.
To do it, you will only need a few materials that you can easily find, such as a transparent light bulb, a little paint, and your creativity. In addition, you have to keep in mind that you can not only do this technique with light bulbs that you are going to use to illuminate, but you can also use old light bulbs that will serve as decorative elements in your home.

In this way you can convert any bulb to recycle it and thus make it a new decorative element for your home.
Instructions for painting light bulbs step by step
That said, it is time to explain how to paint light bulbs step by step, a process that, as you can see for yourself, is a very simple craft to do. The steps to follow are those:
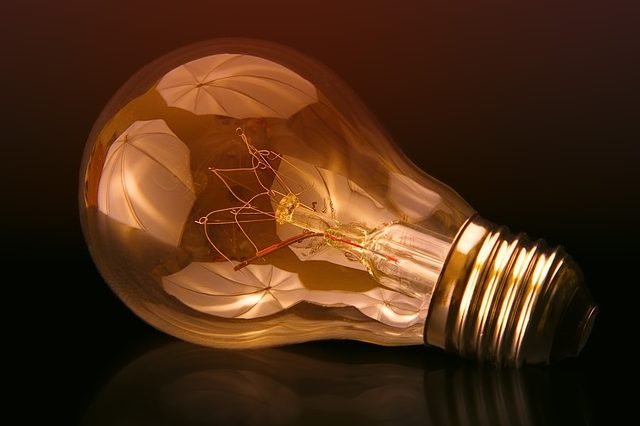
- First of all, you will have to take a transparent 40W bulb. You can also use lower watt bulbs, but in any case you should always make sure to choose a paint that is resistant to the heat that the bulb will emit once it is turned on. Bulbs that are transparent offer a better effect of light to the light. time to shine and paint over other types of light bulbs. Although you can use those that are not transparent, the final result will not be as striking.
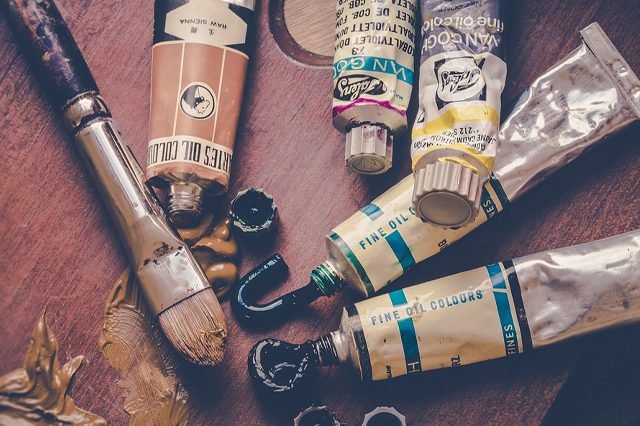
- Later you will have to buy glass paint with heat resistance. You should look for paint on the market that is specially made for glass or that is used to paint ceramics. Avoid the use of acrylic or oil-based paint, as in these cases it could pose a danger, since the bulb could explode.
- Already getting down to work for the decoration itself, you should start by cleaning the bulbs with rubbing alcohol. It is important that the surface of this element is perfectly clean and free of dirt or dust. This way the paint will be able to adhere well to the bulb. For this process, soak a cotton bag in rubbing alcohol, and apply it all over the bulb. If you don’t have rubbing alcohol, you can use soap and water instead. In any case, dry the bulb after finishing with a clean towel or let it air dry for a couple of minutes. Make sure it stays dry.
- To work more comfortably, support the light bulb with adhesive putty or plasticize or place it on a small object that allows you to prevent the light bulb from moving while you paint it.
- With the bulb in a spot where it won’t budge, it’s time to start painting, for which you’ll need some small brushes. Apply a thin, light first coat of color.
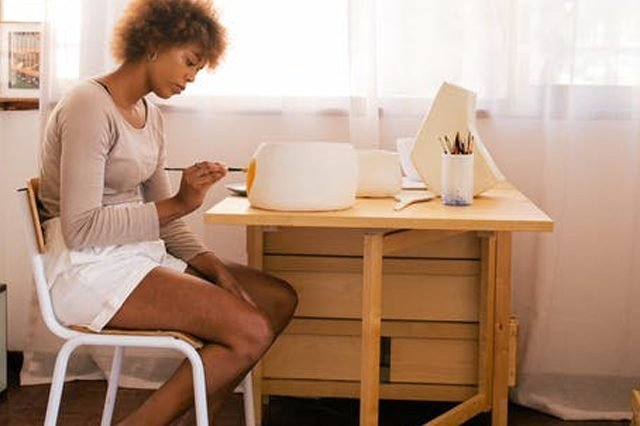
- Next is the time for you to start unfolding all your creativity. You can draw the image on the bulb freehand or use templates or stickers. Draw a detailed image about the light bulb.
- Once you have finished painting your bulb with the design you have chosen, it is time to let it air dry for an hour. Leave the bulb resting on the putty or plasticine until it dries. Avoid touching the bulb before it is completely dry.
- When it has finished drying you can add more layers if you want brighter colors or for the final result to be as desired. Everything will depend on your preferences and how it turned out, something that will depend largely on the type of paint and its quality.
- In some cases, you will have to use heat to set the paint. This is when they can be used in ceramics and require what is called thermal curing. In this case, you must follow the instructions indicated by the paint itself.
Following all these steps you will have your light bulbs painted, which you can hang directly or turn them into decorations for different rooms in the home. If it is a light bulb that works, you can use it to illuminate certain corners of the home in a special way. However, you must be aware that although it will gain in creativity and appearance, the intensity of the lighting will be less.
In addition, you can use both old and new light bulbs to paint them and make other decorative elements from them, such as shapes of dolls, simulate a hot air balloon, etc. The limit is set by your creativity.
What do you need to paint light bulbs step by step?
To make this craft you will need:
- 40W or less clear bulb
- Heat resistant glass paint
- small brushes
- rubbing alcohol
- Cotton balls
- adhesive putty